Professional product photography runs $50-$200 per piece. If you stock 500 SKUs, that's $25,000 to $100,000, and you'll need to reshoot every time inventory turns over. That's not a photography budget. That's a recurring expense with no ceiling.
Here's the math that changes the equation: a DSLR body, a macro lens, and a basic lighting setup costs $2,000-$3,000 once. After that, every shot is essentially free. You control your schedule, your output, and your consistency. No waiting on a photographer's availability. No re-explaining your brand standards at every session.
And this matters beyond your product pages. Your product photos feed your Google Shopping listings, your Meta ad creative, your email campaigns, your Pinterest pins, and every page on your site. One bad photo fails everywhere at once. One good photo works everywhere at once.
This guide covers the equipment, technique, and workflow for retailers who need to shoot real inventory at scale. Not a single hero piece for Instagram. Hundreds of SKUs, shot consistently, optimized for every platform you sell on.
The Equipment Stack
You don't need a $10,000 camera system. You need the right configuration for macro jewelry work.
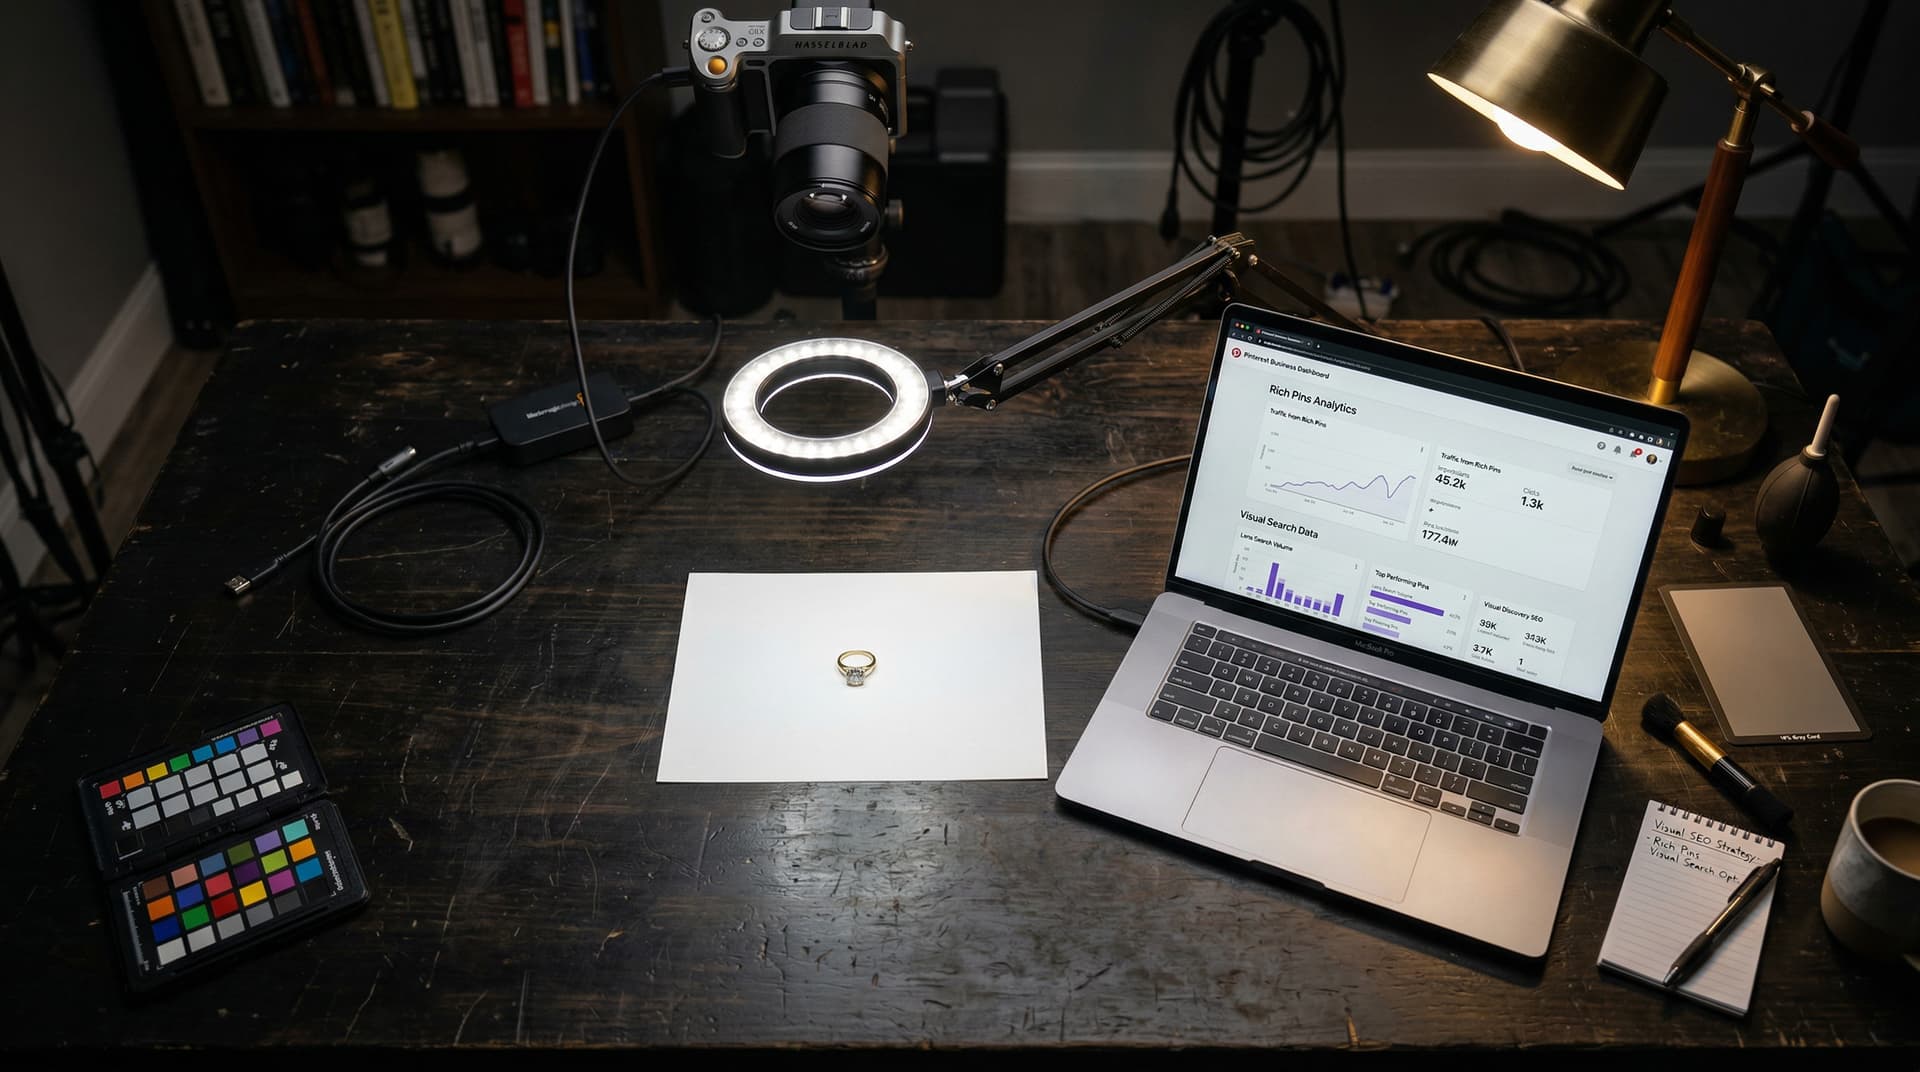
Camera Body
A mid-range APS-C DSLR or mirrorless body (Canon R50, Nikon Z30, Sony a6400) in the $700-$1,200 range will outperform a phone camera for jewelry by a wide margin. You need manual control over aperture, shutter speed, and ISO. You need a sensor large enough to capture fine detail without noise. You need a lens mount that accepts a dedicated macro lens.
Full-frame bodies (Canon R6, Sony A7 series) produce better results but aren't necessary at the start. APS-C is sufficient for web, e-commerce, and social. Upgrade when volume justifies it.
The Macro Lens
This is the most important piece of the kit. A 100mm macro lens (Canon 100mm f/2.8L, Sigma 105mm f/2.8, Tamron 90mm f/2.8) gives you true 1:1 magnification with enough working distance to place your lights without the lens barrel casting a shadow on the subject.
At 100mm you can fill a full frame with a 10mm gemstone. At 50mm you'd need to crop dramatically and lose resolution. The longer working distance also gives you room to angle your lights for the specific glitter and scintillation effects that make jewelry photography work.
Budget option: the 7Artisans 60mm f/2.8 macro is under $150 and produces usable results for standard product shots.
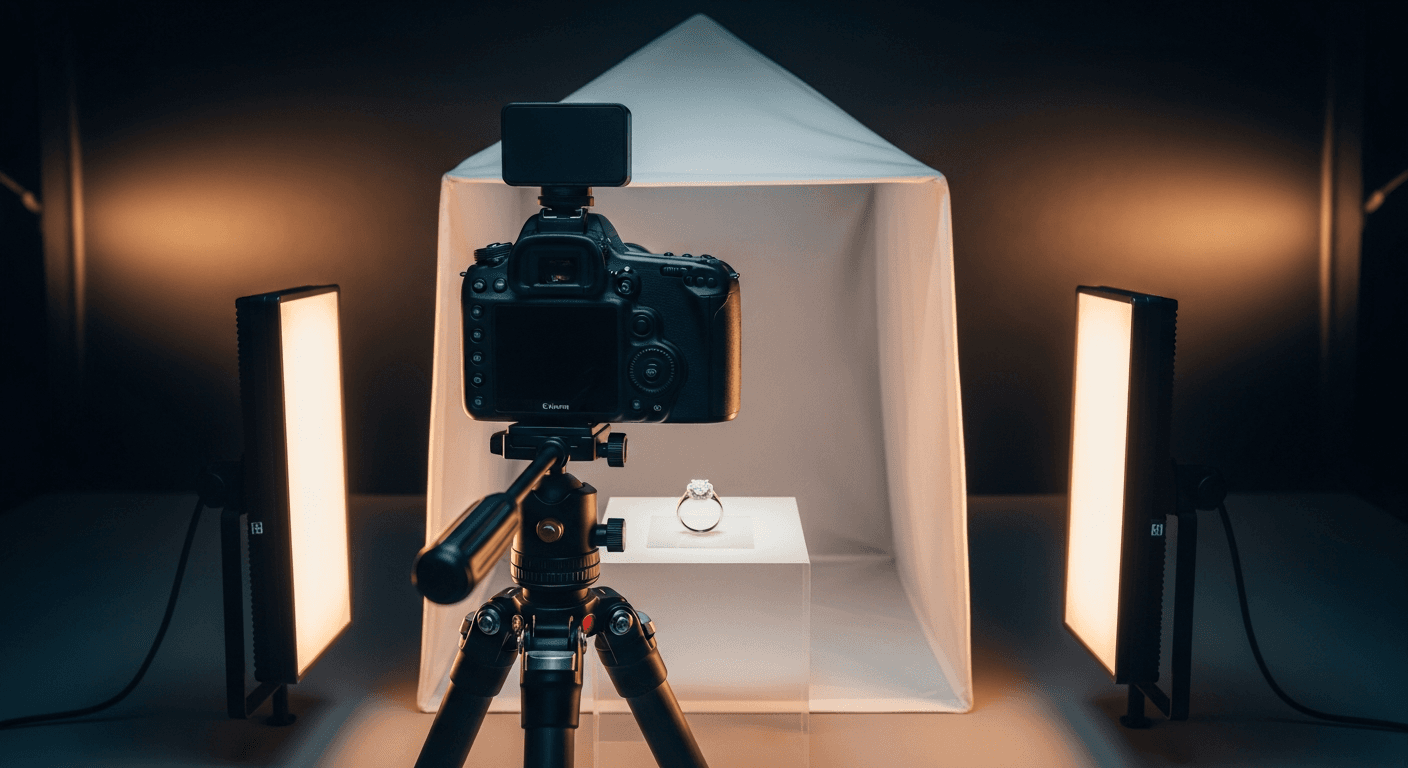
Lighting Setup
Jewelry lighting has two objectives in conflict: eliminate harsh reflections on metal surfaces while retaining the sparkle and fire inside gemstones. The resolution is a combination of diffused and direct light.
The baseline setup:
- Two continuous LED panels or speedlights with large softboxes (60x60cm minimum) positioned at 45-degree angles to the subject
- A small fiber optic or ring light pointed directly at the piece to catch internal gem refraction
- A white or black seamless background depending on metal color (white for yellow gold, black for white gold and platinum)
- A copy stand or adjustable arm to hold the camera directly overhead for flat lay shots of rings and bracelets
Total cost for this setup: $400-$800 depending on whether you buy new or used.
The Turntable
A motorized 360-degree turntable ($150-$400) lets you shoot 24-36 frame 360 spins of rings, pendants, and watches without repositioning the piece or lights. 360 product views increase conversion rates by 12-27% on e-commerce product pages (Shopify data). For high-ticket items, this is a meaningful conversion lift.
Camera Settings for Jewelry
These are starting points. Your specific setup will require adjustment, but these baselines get you to a usable shot quickly.
Aperture
f/8 to f/16 for most jewelry. At macro distances, depth of field collapses. A ring shot at f/2.8 with a 100mm macro will have a razor-thin plane of focus that puts the stone in focus but blurs the band. f/11 gives you the full ring in focus. For very deep pieces (thick bangles, large pendants), stack exposures at f/11 using focus stacking software.
Shutter Speed
1/125s or slower when using continuous LED lights. With flash/strobe, your sync speed (usually 1/200s or 1/250s) sets the ceiling. Use a tripod and cable release or 2-second timer to eliminate camera shake at these settings.
ISO
ISO 100 always. In a controlled studio with artificial lights, there is no reason to raise ISO. Higher ISO introduces noise that becomes visible in smooth metal surfaces and ruins the clean look you need for luxury jewelry.
White Balance
Set a custom white balance using a grey card under your specific lights. Auto white balance will drift between shots and create inconsistency across a product catalog. Consistent color temperature is essential when you're selling something people are buying based on how it looks on screen.
Shooting Technique by Product Type
Rings
Standard shots: flat lay (camera directly overhead looking down), side profile (camera level with the table, ring standing upright in a ring holder or putty), and three-quarter angle showing the stone and band together.
For engagement rings, add a close-up of just the stone from directly above. Buyers want to see the cut, the faceting, and the setting. This shot also performs well as a social media crop.
Use a ring cone or adjustable ring holder to keep the piece stable. Putty (museum putty, not sticky tack) works for non-precious metal shoots but can leave residue on fine metal.
Necklaces and Pendants
Flat lay against white background with chain arranged in a natural curve, not bunched or strained. The pendant should be the visual anchor. For pieces with texture or dimension, a 45-degree elevated angle from the side shows depth better than overhead.
Use a neck form for lifestyle shots. A clean acrylic or fabric neck form positioned to show how the necklace falls when worn gives buyers a sense of proportion and drape that a flat lay can't communicate.
Bracelets and Bangles
Flat lay works for chain bracelets. For rigid bangles and cuffs, stand them upright on the background surface and shoot at a slight downward angle to see the opening. A wrist prop (available in acrylic for $30-$50) shows how a bangle sits on the wrist better than any flat lay.
Watches
Watches require dial and bracelet/strap shots separately, plus an angled three-quarter view. The dial shot should show the hands positioned at 10:10 (industry standard, frames the logo and creates visual symmetry). Set the date to the 28th if the watch has a date complication.
For watches with exhibition case backs, shoot the movement too. This is a conversion driver for watch buyers who want to see the caliber before purchasing.
Post-Processing Workflow
The goal of post-processing is not to make the piece look better than it is. It's to make the photo accurately represent what the piece looks like in optimal lighting. Buyers who receive a piece that doesn't match the photo file chargebacks and leave negative reviews.
Software
Adobe Lightroom for batch processing and color correction. Capture One for color-critical work (better color rendering for fine metals). Photoshop for background removal, cloning, and focus stacking. If budget is tight, Darktable (free, open source) handles raw processing competently.
The Standard Edit
For every product shot:
- White balance correction to a neutral point
- Exposure adjustment to bring the background to pure white (255,255,255) without blowing out metal highlights
- Clarity and texture boost (subtle, not HDR-style) to render fine detail in metal surface texture
- Selective color correction if stone color reads inaccurately (sapphires often shift purple, emeralds shift yellow-green in LED light)
- Clone/heal any dust, fingerprints, or lint visible at macro scale
- Export in sRGB at 72dpi for web, 300dpi for print
Background Removal
For e-commerce product pages, a pure white background (not near-white, pure white) is the standard. If you didn't get there in camera, use Photoshop's Select Subject + Refine Edge workflow for pieces with complex edges (prong settings, pavé bands). For simpler pieces, remove.bg or Canva's background remover handle it in seconds.
Building a Repeatable Workflow
The difference between a jewelry retailer who has solved photography and one who hasn't isn't usually equipment. It's process.
The Shot List
Before you pick up the camera, define the required shots for every SKU. For a standard ring:
- Hero flat lay (product page main image)
- Side profile
- Three-quarter angle
- Stone close-up
- On-hand lifestyle (if using hand model)
Document this as a written checklist pinned above your shooting station. Every person who shoots for your brand follows the same list for every SKU, every time.
Batch Shooting Days
Block 4-hour sessions twice a month specifically for photography. Don't try to shoot one piece between customers. The setup time alone (pulling and cleaning pieces, positioning, camera settings) makes one-off sessions inefficient. Batch 20-30 SKUs per session with a consistent setup and you'll hit a rhythm where you're shooting a new piece every 8-12 minutes.
File Naming and Organization
Name files with SKU-angle-version: RING-001-HERO-v1.jpg, RING-001-SIDE-v1.jpg. This matters when you're uploading 500 photos to Shopify and trying to match the right file to the right product variant. A chaotic file naming system costs more time than the shooting itself.
Optimizing Photos for Platform Performance
A photo that's perfect in Lightroom can fail on Google Shopping, Instagram, and your website for different reasons. Each platform has different requirements.
Google Shopping
Requires pure white background, no watermarks, no borders, no promotional text overlaid on the image. Minimum 100x100px, recommended 800x800px. Google's algorithm reviews images before approving listings and will disapprove products with low-quality or non-compliant images.
Instagram and TikTok
Square (1:1) and vertical (4:5 or 9:16) formats. Your hero product shot in landscape won't fill a feed without cropping awkwardly. When shooting, capture extra negative space above and below the piece so you can crop to multiple ratios from one shot.
Vertical 2:3 ratio performs best. Pinterest is still a meaningful discovery platform for jewelry, particularly for engagement rings and wedding jewelry. A well-optimized pin can drive traffic for months or years after posting.
Your Website
Compress images to under 300KB without visible quality loss. Tools: Squoosh (free, browser-based), ShortPixel (WordPress plugin), or Shopify's built-in compression. Page load speed directly affects both SEO rankings and conversion rates. A beautiful image that takes 4 seconds to load hurts you.
Adding Metadata for SEO and Visual Search
The photo is only part of the equation. How you label it determines whether Google and AI search engines can find it.
File Name
Use descriptive, keyword-rich file names before uploading. Not IMG_4521.jpg. platinum-three-stone-engagement-ring-1ct-dallas.jpg. This is a direct SEO signal that most retailers ignore.
Alt Text
Every image on your site should have alt text that describes the piece accurately and includes relevant search terms. "Platinum three-stone engagement ring with 1ct center diamond, available in Dallas" is what you want. "Ring" is what most retailers have.
Product Schema
Images paired with product schema markup get surfaced in Google Shopping results and Google Lens visual search. If you've invested in photography but haven't implemented schema, you're leaving visibility on the table.
Video: The Shortcut to Social Conversion
Still photography covers your product catalog and your e-commerce listings. Video covers your social channels and ads.
For jewelry video with the same DSLR setup:
- Shoot 4K at 24fps for cinematic look, or 1080p at 60fps if you plan to slow-motion any shots
- Use the 180-degree shutter rule: shutter speed = 2x frame rate (48fps for 24fps, 120fps for 60fps)
- Slow, deliberate movement across the piece. Rapid movement blurs at macro distances.
- Let the light do the work. Rotate the piece slowly on a turntable to let light catch different facets at different angles. This creates the visual interest that stops scroll.
A 15-30 second macro video of a well-lit piece rotating on a turntable is the most efficient content you can produce for social. Shoot 10 SKUs in an afternoon and you have two weeks of TikTok and Reels content.
Common Mistakes to Avoid
- Shooting with fingerprints on the piece. Clean every piece with a microfiber cloth and cotton gloves before it enters the frame. Fingerprints that are invisible in the case are visible in macro.
- Inconsistent backgrounds across the catalog. One product on pure white, another on cream, a third on grey looks unprofessional and makes your site feel disjointed.
- Skipping the video. Stills alone aren't enough anymore. Buyers expect to see a piece move before they commit to a high-ticket purchase.
- Over-retouching. If the AI-enhanced photo looks significantly better than the actual piece, you're setting up for disappointed buyers and returns.
- Uploading full-resolution raw files to your website. A 40MB TIFF will destroy your page load time. Export compressed JPEGs sized to your product template.
The Business Case
Quality photos reduce returns. Buyers who see accurate, high-resolution images of a piece have fewer surprises when it arrives. Returns in jewelry are a significant operational cost. Fewer returns directly improves margin.
Quality photos increase ad performance. Meta's algorithm rewards ads with high engagement. An ad with a compelling macro video of a piece performs better than an ad with a stock photo. Your CPM drops, your CPC drops, and your ROAS improves.
Quality photos enable Google Shopping. Without clean, white-background product images, your Shopping feed won't be approved or will underperform. Google Shopping is one of the highest-intent channels for jewelry.
Quality photos create content assets. Every product photo you take is a potential social post, an email header, a catalog image, an ad creative. You're not just taking a product photo. You're building a content library.
Need help building a content system that turns your product photos into ads, social posts, and email campaigns? That's what we do. Talk to H&CO
Sources
- Shopify: 360-degree product view conversion rate data.
- Google Search Central: Image SEO guidelines and Shopping feed requirements.
- Adobe: Lightroom and Photoshop workflow documentation.